

How To Upload Blog Posts To Cms
- Creating a Blog Post
- SEO Title and Meta Descriptions
- Search Engine Preview
- Updating a Blog Post Slug
- Cloning a Blog Post
- Deleting a Blog Post
- Setting up your Preview URL from within the Blog Post
Creating a Blog Post
ButterCMS provides you with a preconfigured blog post template with all the fields you need to get an SEO-optimized blog up and running quickly.
1. To create a Blog Post, the first thing you need to do is click on the Blog posts icon from your Main Menu

2. click on the New Post button.

3. Enter a name for the Blog Post you just created.

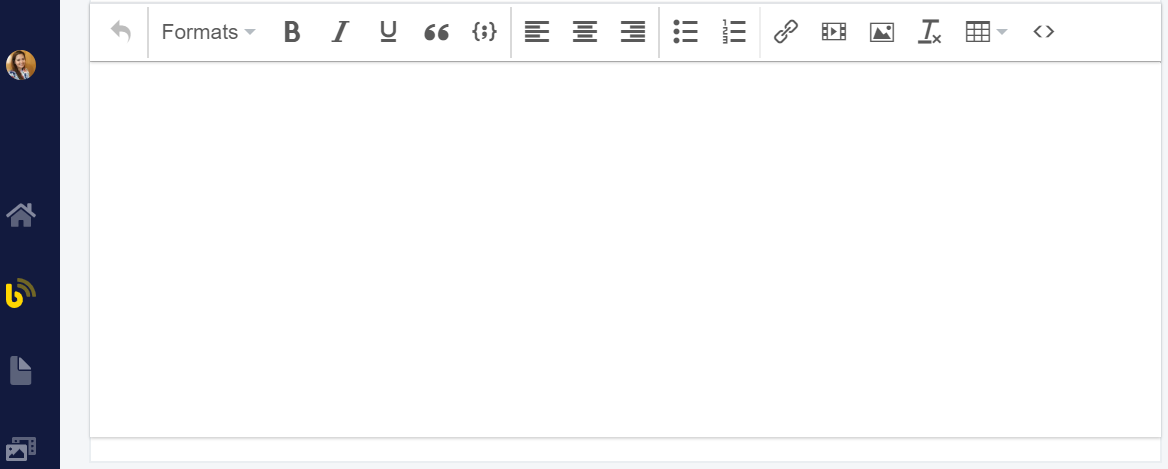
4. Enter your content on the WYSIWYG (What You See Is What You Get) field. Learn more about the WYSIWYG editor.
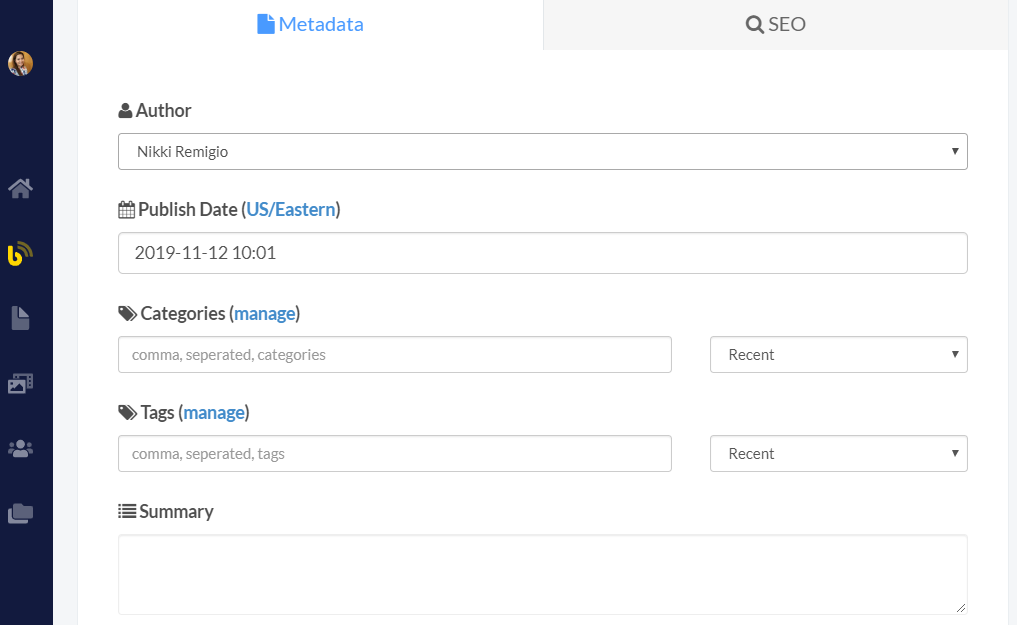
5. Next, choose the Author for your Blog Post from the Author drop-down and enter the date you would like this post to be published. To add Authors and their corresponding bio information to the drop-down, click here.
To learn about scheduling your blog posts, click here.
You can also choose the Categories and Tags for multi-level filtering of each post. To create a new category or tag for blog posts, just type it inside their corresponding boxes.
Lastly, you can add a short description for your post inside the Summary box.
Note: The Summary box will automatically be populated with the very beginning content from the body of your post.
6. To add a Featured Image, just click on Insert Media and upload a new image or choose one from your Media Library.
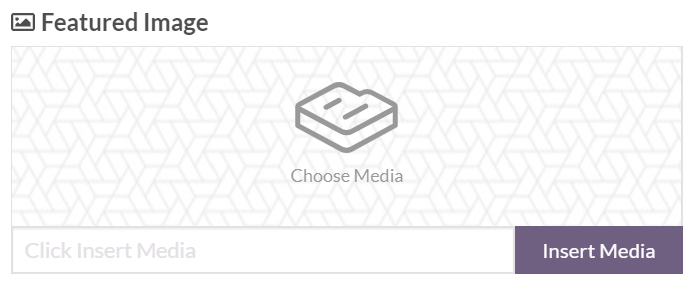
You can also drag & drop an image here:

Great SEO is a major focus and benefit of Butter. To customize the SEO Title and Meta Descriptions for your blog posts, just click on the SEO tab on the bottom of your blog engine.
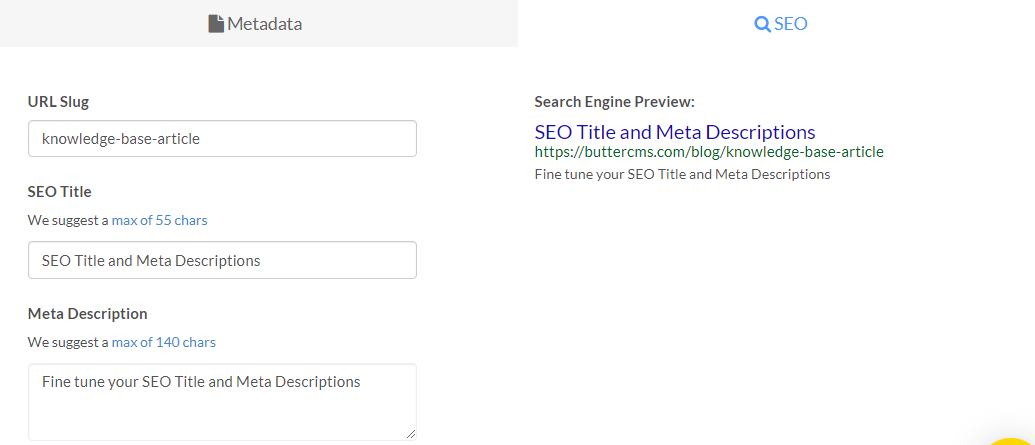
Note: If you SAVE DRAFT of the blog post before providing any content for the URL Slug, SEO Title, Meta Description, or Summary fields, they will automatically populate for you. The URL Slug and SEO Title automatically generated for you to match the post's Title. The Meta Description and Summary fields will contain the first 140 characters from the body of the post. These can all be manually changed.
Search Engine Preview
Alongside these SEO fields, we provide a real-time preview of what your blog post will look like in search engine results.
NOTE: As you can see, we have added a character limit on both to ensure these show up in full for returned google results for the post to optimize for good SEO practices.
Updating a Blog Post Slug
The initial default slug will be a slugified version of your post title. To update or change the slug of your post, click on the SEO tab on the bottom of your blog engine.

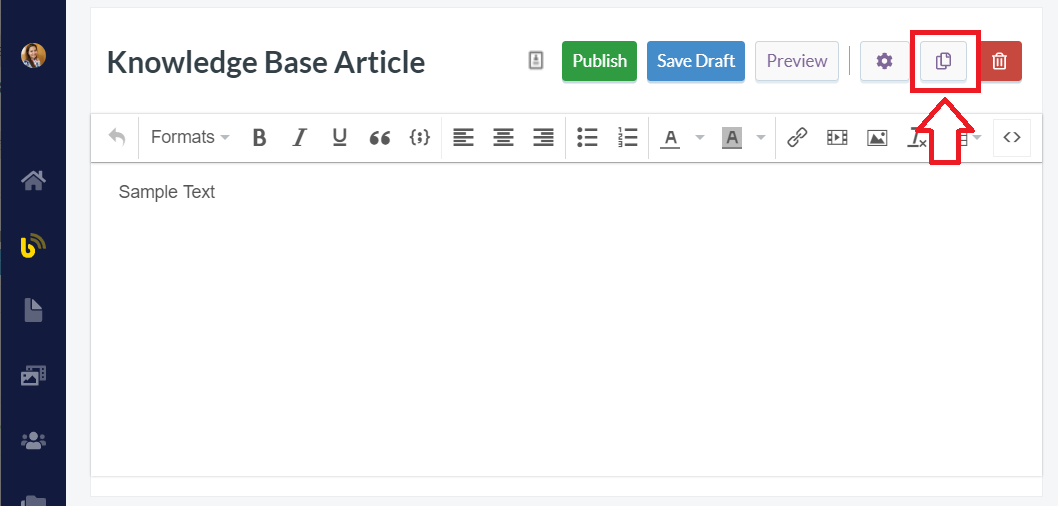
Cloning a Blog Post
To clone or create a copy of an already existing Blog Post. Just click on the 'Clone as a new post' button:
Deleting a Blog Post
To delete a Blog Post, all you have to do is open the blog post and click on the red delete button at the top right. Once this is deleted, yo u will not be able to recover this post.

Setting up your Preview URL from within the Blog Post
To set up your Preview URL, simply click on the gear icon > Configure preview URL and enter the URL for previewing your blog posts:
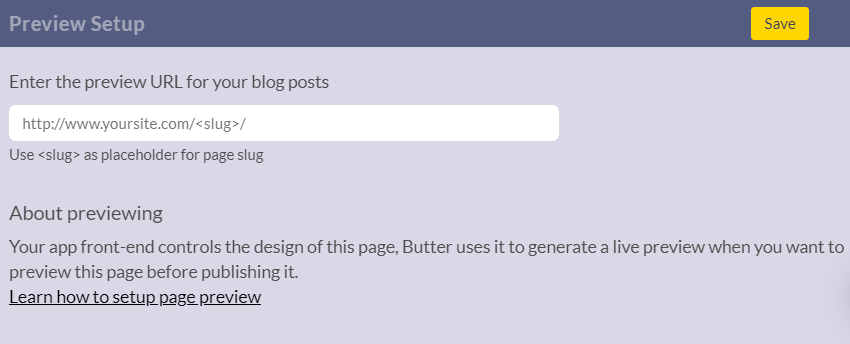
Where previewing your blog content, there are two key points:
How To Upload Blog Posts To Cms
Source: https://buttercms.com/kb/how-to-create-modify-and-delete-blog-posts
Posted by: bentonshapithe.blogspot.com
0 Response to "How To Upload Blog Posts To Cms"
Post a Comment